2 years ago
 Level 93 Hybrid MoM Ball Lightning Hierophant3.21
Life: 4,093110%
ES: 2,20522%
Mana: 5,182289%
eHP:
53,409
Resistances: 75%/75%/75%/43%
Evade: 25%
DPS: 7,694,688
Speed: 3.44
Hit Chance: 100%
Config: Pinnacle
Bandit: Kill All
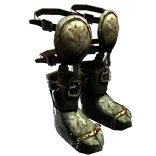
Gear

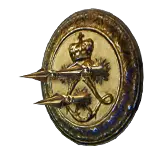
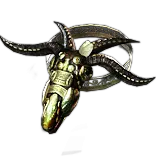
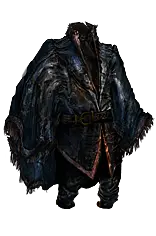
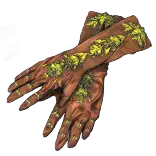


Gems
Ball Lightning
Slower Projectiles
Multiple Totems
Lightning Penetration
Elemental Focus
Faster Casting
Shield Charge
Faster Attacks
Flame Dash
Sniper's Mark
Culling Strike
Divergent Purifying Flame
Arcanist Brand
Conductivity
Vortex
Cast when Damage Taken
Arcane Cloak
Arcane Surge
Sigil of Power
Increased Duration
Wrath
Increased Duration
Vaal Haste
Eternal Blessing
Tree Preview
- Lightning Damage with Non-Critical Strikes is Lucky
- 10% of Damage taken Recouped as Mana
- Recover 10% of Mana over 1 second when you use a Guard Skill
- Corrupted Blood cannot be inflicted on you
Notes
The Ball Lightning Totem Hierophant build offers a powerful and versatile playstyle that is accessible for league starters and enjoyable for spell totem enthusiasts. While it boasts significant damage potential and strategic gameplay, the build's limitations in terms of defenses and optimal skill placement should be taken into consideration when deciding whether to pursue this character.

Pros & Cons:
+ Budget-Friendly: This build is a league starter, making it accessible for players with limited resources or new characters.
+ Versatile Totem Gameplay: Utilizing spell totems provides a different gameplay experience that can be engaging and enjoyable for many players.
+ Powerful Damage Potential: The synergy between Ball Lightning and totem mechanics creates potent damage output, suitable for clearing maps and tackling endgame content.
+ Hierophant Ascendancy Synergy: The Hierophant ascendancy enhances totem gameplay by providing additional totems, placement speed, and substantial regeneration, making the build more effective.
+ Effective Single-Target and Area Damage: The build's totem placement strategy allows for both single-target and area damage, making it well-suited for various encounter types.
+ Synergy with "Self-Flagellation" Jewel: The "Self-Flagellation" jewel boosts damage based on the number of curses on the player, synergizing well with the curse mechanics and playstyle of the build.
+ Mana-Based Defense: Mana stacking provides a balanced effective health pool (EHP) through Mind over Matter and Divine Guidance, enhancing survivability.
+ Decent Survivability: The build incorporates substantial regeneration and recovery, making it resilient against damage over time (DoT) effects.
+ Attractive Mapping Behavior: The mapping behavior involves strategic totem placement, adding a layer of depth to gameplay and offering unique challenges.
- Limited Defenses: The build lacks robust defensive mechanisms, particularly on the right side of the passive tree, requiring significant investment and potential damage compromise for increased survivability.
- Complex Totem Placement: Maximizing the damage potential of Ball Lightning totems requires precise placement, making the build more challenging to play optimally.
- Less Block and Evasion: The build's constraints limit the acquisition of block and evasion mechanisms, potentially making the character vulnerable to certain types of attacks.
- Learning Curve: Efficient skill placement and timing require a learning curve, which may be discouraging for some players.
- Vulnerability to Chaos Damage: Due to changes in mechanics, chaos damage can pose a significant threat to totem health, potentially limiting the build's viability in certain situations.
- Mana-Intensive Playstyle: The mana stacking approach might require careful management of mana resources during intense encounters.
- Non-Crit Limitation: While Elemental Overload provides substantial damage, opting for non-crit limits certain potential damage scaling options.
- Defensive Investment Trade-off: Balancing defense and offense can be challenging, potentially resulting in a trade-off between survivability and damage potential.
- Lack of Spell Totem Innovation: While effective, the build might not fully explore the potential of spell totems, and future spell releases could impact its viability.


More PoE 3.22 Builds: https://loltank.com/poe-builds
For Poe Currency: https://loltank.com/poe-currency