2 years ago
 Level 100 Crit Flicker Strike Raider3.21
Life: 3,876119%
ES: 274
Mana: 39
eHP:
21,312
Resistances: 76%/76%/75%/-60%
Evade: 74%
Supp: 100%
Evasion: 23,842
DPS: 69,861,712
Speed: 16.23
Hit Chance: 100%
Crit Chance: 100.00%
Crit Multi: 526%
Config: Pinnacle, 40% Shock, Frenzy, Power
Bandit: Kill All
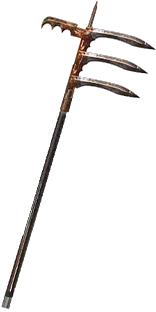
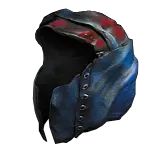
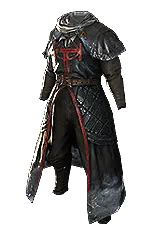
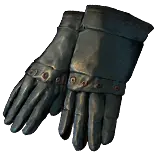
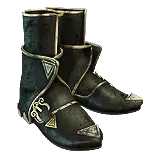
Gear


Gems
Hatred
Enlighten
Precision
Grace
Vaal Flicker Strike
Awakened Elemental Damage with Attacks
Awakened Multistrike
Trinity
Close Combat
Increased Critical Damage
Berserk
Lifetap
Rage
Leap Slam
Elemental Weakness
Bonechill
Vortex
Lifetap
Flame Dash
Lifetap
Ancestral Protector
Vaal Ancestral Warchief
Mark On Hit
Assassin's Mark
Tentacle Whip
Tree Preview
- Dexterity's Accuracy Bonus instead grants +3 to Accuracy Rating per Dexterity
- +500 to Accuracy Rating
- -2 to Accuracy Rating per Level
- Attacks with Axes or Swords grant 1 Rage on Hit, no more than once every second
- 3% increased Damage per Endurance, Frenzy or Power Charge
- 40% of Physical Damage Converted to Cold Damage
- +25% to Critical Strike Multiplier against Unique Enemies
- You take 30% reduced Extra Damage from Critical Strikes
- 50% increased Effect of non-Damaging Ailments you inflict with Critical Strikes
- +15% chance to Suppress Spell Damage if Equipped Helmet, Body Armour, Gloves, and Boots all have Evasion Rating
- 10% of Leech is Instant
- Skills cost Life instead of 30% of Mana Cost
Notes
Build Overview
Before delving into the specifics of the HeatShiver build, it's important to note that the author of this guide does not recommend replicating this build due to its lackluster defensive capabilities.
The build's primary focus is on high damage output and freezing mechanics.
However, for those interested in exploring the build further, the author provides a quick rundown of their gear and passive skill tree setup in the video.
Please pause the video if you wish to take a closer look at their build.

Freezing Mechanic and Key Insights
The main objective of the HeatShiver build is to utilize the freeze mechanic to immobilize and deal significant damage to Uber bosses.
The key insight that led to the discovery of this build's effectiveness was the realization that the "Freeze" support gem works well with the Grasping Hands of the Expedition Sand body armor.

Testing the Freeze Effect
To confirm the viability of this approach, several different body armors were tested against Uber bosses to gauge the effectiveness of freezing.
The test involved using body armors with varying damage per second and freeze durations.
The results indicated that freezing the bosses was successful when using a body armor with high damage and low width, resulting in three types of resonance.
Conversely, if the bosses did not freeze with body armors featuring low damage and width, it affirmed that the freeze effect from the Expedition Sand was indeed working

For More Poe Builds: https://loltank.com/poe-builds
For Poe Currecy: https://loltank.com/poe-currency