17 months ago
 Level 12 Lightning Arrow Deadeye3.22
Life: 7090%
Mana: -7
eHP:
2,685
Resistances: 75%/75%/75%/36%
Evade: 74%
Evasion: 18,411
DPS: 27,979
Speed: 3.65
Hit Chance: 52%
Config:
Pinnacle, 5% Shock, Frenzy, Custom Mods
Bandit: Kill All
Pantheon: Soul of the Brine King
Gear
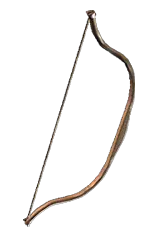
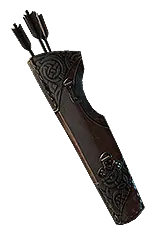

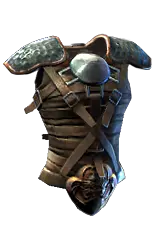




Gems
Vaal Lightning Arrow
Mirage Archer
Trinity
Elemental Damage with Attacks
Fork
Artillery Ballista
Elemental Damage with Attacks
Added Cold Damage
Faster Attacks
Elemental Focus
Manaforged Arrows
Frenzy
Tornado
Culling Strike
Sniper's Mark
Mark On Hit
Dash
Second Wind
Grace
Anger
Defiance Banner
Blood Rage
Notes
BUILD IS REALLY SQUISHY, MAIN DEFENSIVE LAYER IS GET GOOD + RNG + KILL. You have been warned.

Leveling info: - Suggested Links for each ability are in Skills under Leveling

Start off with Galvanic Arrow + Shrapnel Ballista and make sure you have pierce for Shrapnel.

Ballistas should be doing most of your clear, drop 1 or 2 and attack once with galvanic to proc mirage archer and let the totems finish off enemies.

Use War Banner for the adrenaline proc on bigger enemies, Sniper's Mark is level 4 now, use on big enemies from the start.

This playstyle will continue all the way until you swap to Lightning Arrow which will allow you to mostly ignore totems except for single target.

First 3/4/5 link should always go to your totem first, clear ability second, manaforged arrows third, and then everything else.

At level 12 swap to Rain of Arrows, grab Lightning arrow and keep leveling it up in offhand. Keep RoA until you get your second 4 link then swap to LA.

Use Herald of Ice + Either Herald of Thunder / Ash, depending on which you can fit into sockets. You can also run precision if you are stacking health.

Swap to Artillery Ballista ASAP and remove pierce.

Around the middle of Act 3 grab Charisma wheel and swap your auras to Anger + 1 of (Haste for SPEED, Grace for General Survivability, Purity of Elements for Lazy res)

Once you have Barrage Support, level it up in a separate link / offhand and swap it with Fork for bigger bosses (act bosses, difficult essence mobs, etc)

General info:

This build is designed for SPEED, don't get caught up clearing every single mob while going through the campaign and early maps. Your Mirage Archer and totems
can kill most things, focus on moving forward and getting most things cleared, not everything.

You WILL die occasionally. If you keep your resistances maxed, spell suppression topped off, and your evasion high, you shouldn't die constantly. There will be situations
where the cards are not in your favor and chris wilson will smite you from the heavens. Shrug it off, get back in, and keep mapping.

This build is designed for SC Trade, use ALL of your currency to progress your maps and your character strength. More Power -> Faster Farming -> More Currency
Once you get to a spot where you feel comfortable with your clearspeed you can save up for either build #2 or for a big transition into Rage/Berserk etc.